Mold making process_ What are the main processes of mold making
- Author:
- Source:
- Date : 2023-06-08
All kinds of tools and products we use in our daily production and life, ranging from the base of the machine tool, the shell of the machine body, to the small screw, button and the shell of various household appliances, are all closely related to the mold. Today, I will take you to learn the process of making molds.
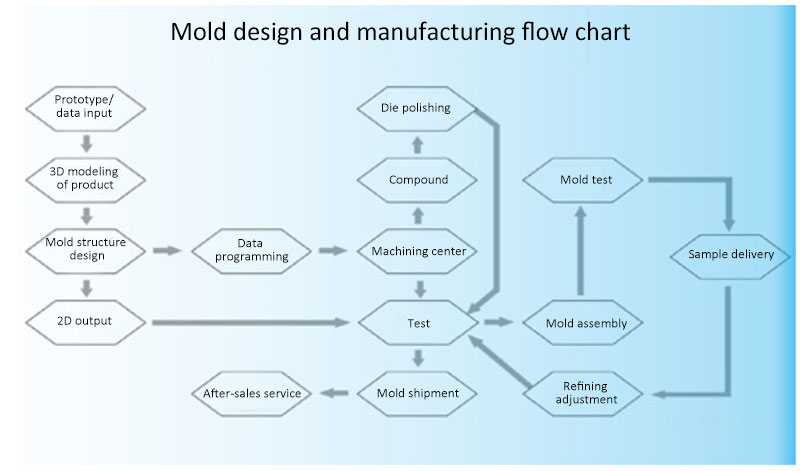
I. The mold making process flow is as follows:
1. Drawing review - material preparation - processing - mold base processing - mold core processing - electrode processing - mold parts processing - inspection - assembly - fitting mold -testing mold - production.
(1) Mold base processing;
(2) Mold core processing;
(3) Mold parts processing.
2. Numbering
3. A/B board processing
4. Panel processing
5. Processing of thimble fixed plate
6. Bottom plate processing
7. Flash
8. Coarse grinding
9. Milling machine processing
10. Benching
11. CNC rough machining
12. Heat treatment
13. Fine grinding
14. CNC finishing
15. Electric discharge machining
16. Polishing
17. Slider processing
18. Compression block processing
19. Processing of diverter cone sprue sleeve
20. Insert processing
II. Mold base processing details
(1) The numbering should be uniform, and the mold core should also be numbered. It should be consistent with the number on the mold base and in the same direction for easy alignment during assembly.
(2) A/B board processing (that is, processing of movable and fixed mold frames)
A/B board processing should ensure that the parallelism and verticality of the mold frame are 0.02mm
Milling machine processing: screw holes, water holes, thimble holes, machine nozzle holes, chamfering
Benching: Tapping, trimming
(3) Panel processing: Milling machine processing boring machine nozzle or processing material nozzle.
(4) Processing of thimble fixed plate: Milling machine processing: thimble plate and B plate are connected with return pins, B plate faces upward, and the thimble hole is drilled from top to bottom. For the countersunk head of the thimble, the thimble plate needs to be turned upside down, corrected, firstly roughed with a drill, and then finished with a milling cutter, and chamfered.
(5) Bottom plate processing: Milling machine processing: scribing, correction, boring, chamfering. (Note: For some molds that require strong tension and strong ejection, a strong tension and ejection mechanism should be added, such as drilling screw holes on the thimble plate)
III. Mold core processing details
1. Rough machining: Processing on a milling machine to ensure verticality and parallelism, leaving a grinding allowance of 1.2mm
2. Coarse grinding: Large water grinding process, first grind the large surface, then clamp the small surface with pliers to ensure that the verticality and parallelism are at 0.05mm, leaving a margin of 0.6-0.8mm on both sides
3. Milling machine processing: First correct the milling machine head to ensure that it is within 0.02mm, correct and compress the workpiece, first process screw holes, ejector pin holes, threading holes, countersunk head for inserting needles, and machine nozzle or material nozzle holes, the chamfering of the diversion taper hole is used to make the water delivery hole, and the R angle is milled
4. Benching: Tapping, typing code
5. CNC rough machining
6. External heat treatment HRC48-52
7. Fine grinding; large water grinding process to negative 0.04mm than the mold frame, ensure that the parallelism and perpendicularity are within 0.02mm
8. CNC finishing
9. Electric discharge machining
10. Polishing, ensure the smoothness, and control the cavity size
11. Process inlet gate, exhaust, zinc alloy gate opening 0.3-0.5mm under normal circumstances, exhaust opening 0.06-0.1mm, aluminum alloy gate opening 0.5-1.2mm, exhaust opening 0.1-0.2, plastic exhaust opening 0.01-0.02, try to make it wider and thinner
IV. Slider processing technology
1. First, roughly process six surfaces with the milling machine
2. Finely grind six surfaces to meet the size requirements
3. Milling machine rough machining of hanging table
4. Finely grind the hanging table to the required size and match with the mold frame row
5. Process the slope with milling machine to ensure that the slope is consistent with the pressing block, leaving a margin for fitting molds
6. Drill the hole for water transportation and oblique guide post. The oblique guide post hole is 1mm larger than the guide post and is chamfered. The inclination of the oblique guide post hole should be 2° smaller than the inclination of the slider slope. The oblique guide post hole can also be reprocessed together with the mold base after fitting the mold and the upper mold is closed, depending on different situations.